


Summary
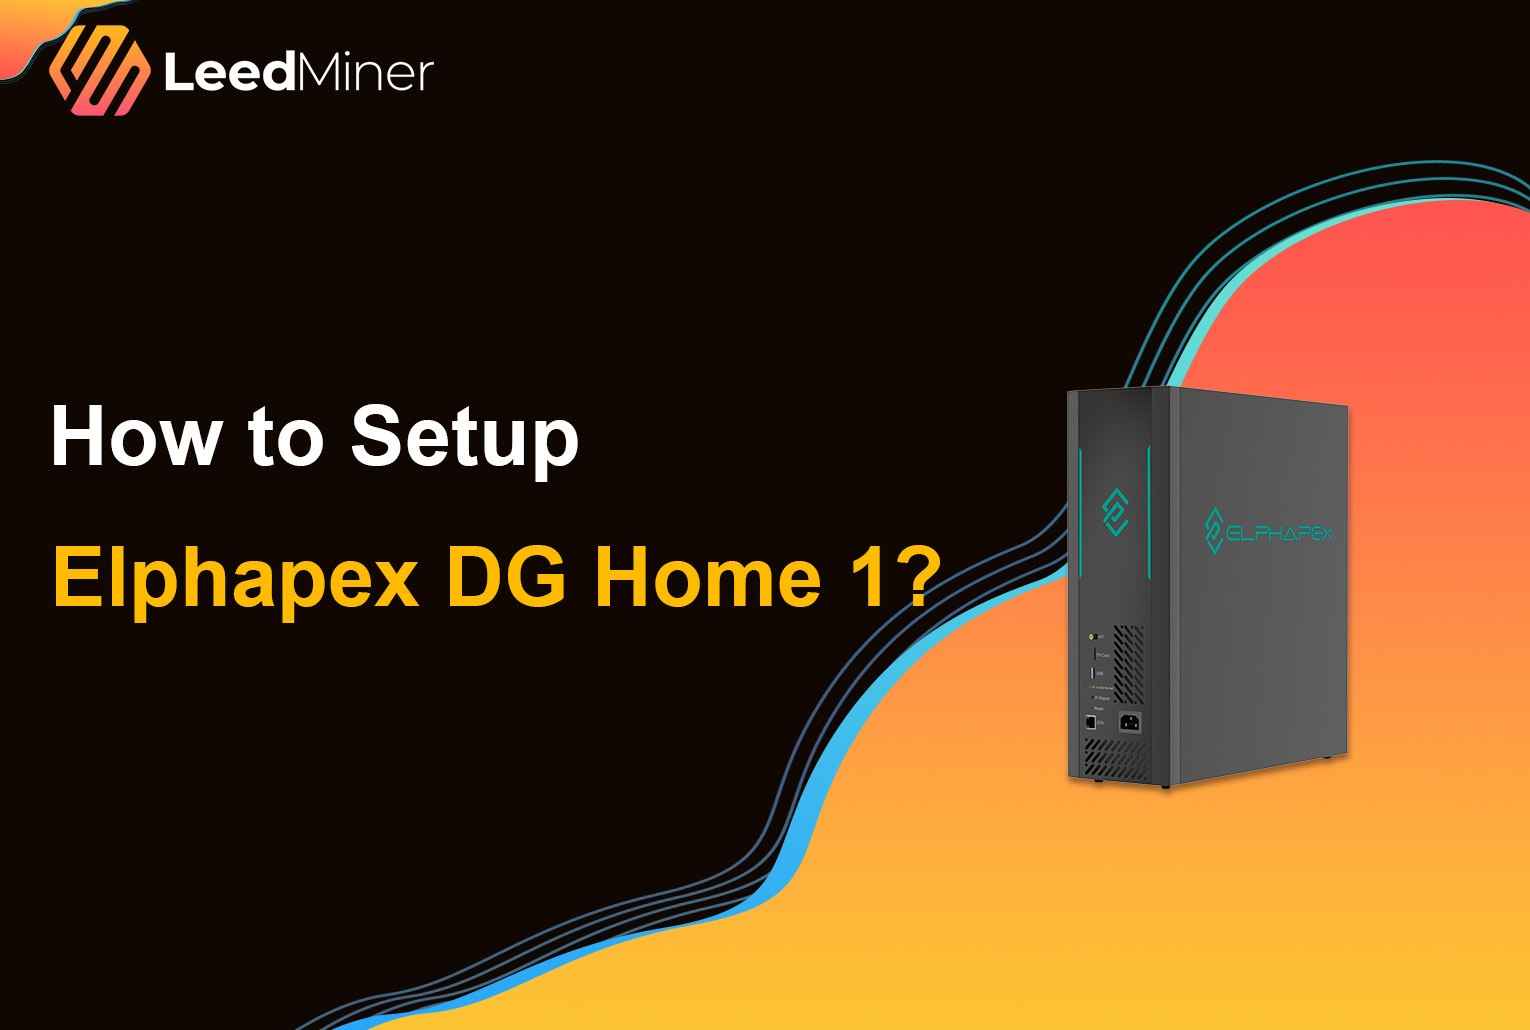
The Elphapex DG Home 1 is a compact, energy-efficient ASIC miner built for the Scrypt algorithm , delivering up to 2,100 MH/s at just 630W of power consumption. Designed specifically for home and small-scale miners, it offers an excellent balance between hashrate, efficiency, and ease of deployment.
In this guide, you will learn how to set up the Elphapex DG Home 1 step by step for Scrypt mining, including Litecoin (LTC) and Dogecoin (DOGE), from initial power-on to pool configuration and performance optimization.
What You Need Before Setup
Before powering on your Elphapex DG Home 1, please prepare the following:
- Carefully unbox the Elphapex DG Home 1 and inspect it for any physical damage
- Elphapex DG Home 1 miner
- power supply unit (PSU)
- Ethernet cable,or you can choose to use Wi-Fi.
- Mining pool account
- Wallet address for payouts
- A PC or laptop on the same local network
- Place the miner in a well-ventilated area, leaving space around it for heat dissipation.
How to Set up ElphaPex DG Home 1?
Step 1: Connect Power and Network

- Connect the PSU cables to the miner’s power input.
- Plug the PSU into a stable power outlet or surge protector.
- Connect the Ethernet cable from the miner to your router or switch.
Step 2: Find the Miner’s IP Address
To access the Elphapex DG Home 1 control panel, you need its local IP address. Look for a device named Elphapex, DG Home, or a generic ASIC identifier.
You can find it by:
- Checking your router’s connected devices list
- Using an IP scanner tool such as Advanced IP Scanner or Angry IP Scanner
Step 3: Access the Web Management Interface
- Open a web browser on your computer.
- Enter the miner’s IP address into the address bar
- Log in using the default credentials: username and password “root”
Once logged in, you will see the dashboard, displaying hash rate, temperature, and system status.
Step 4: Configuring Wi-Fi (Optional)
The ElphaPex DG Home 1 supports Wi-Fi. If you don't have an Ethernet cable, you can click the Wi-Fi button in the left-hand menu. Switch Wi-Fi to "On," select your network, and then enter the password.
Step 5: Configure Mining Pool Settings
- Go to the "Miner" or "Mining" tab in the dashboard.
- Add Pool Address: Enter the stratum address of your chosen pool (e.g., stratum+tcp://pooladdress:port).
- Enter Worker Name: Use the format Your WalletAddress.WorkerName or Your PoolUsername.WorkerName.
- Password: Usually "x" or left blank.
- Save: Click "Save & Apply". The miner will restart and begin mining within a few minutes.
Step 6: Start Mining and Verify Operation

Dashboard: Check real-time hash rate and temperatures on the "Dashboard" page.
How to set up overclocking mode on Elphapex DG Home 1?

To set up OverClock mode, there are generally two main methods. However, overclocking also increases power consumption, heat generation, and hardware stress, so it should be done carefully—especially in a home environment.
Method 1: Using Elphapex Official Management Tool
1. Download ElphapexTool
Download the latest version from the official Elphapex website.
2. Scan for Devices
Connect your PC and miner to the same local network. Open the tool and click Scan to detect the miner’s IP address.
3. Open Configuration Panel
Go to RemoteCtrl or Miner Config in the top menu.
4. Switch Work Mode
Under Mode / Work Mode, change from Work to OverClock.
5. Apply Settings
Click Save or Update. The miner will reboot automatically and load overclock parameters (about 3–5 minutes).
Method 2: Using the Web Control Panel
1. Log in to Web Interface
Enter the miner’s IP address in a browser.
2. Open Settings
Navigate to Miner or Settings.
3. Change Working Mode
Locate Working Mode and select OverClock.
4. Save and Reboot
Click Save & Apply and wait for the miner to restart.
CONCLUSION
Setting up the DG Home 1 is a straightforward process that can be completed in under 30 minutes. With proper configuration and a suitable environment, it can serve as a reliable home miner for Dogecoin and Litecoin.