


SUMMARY
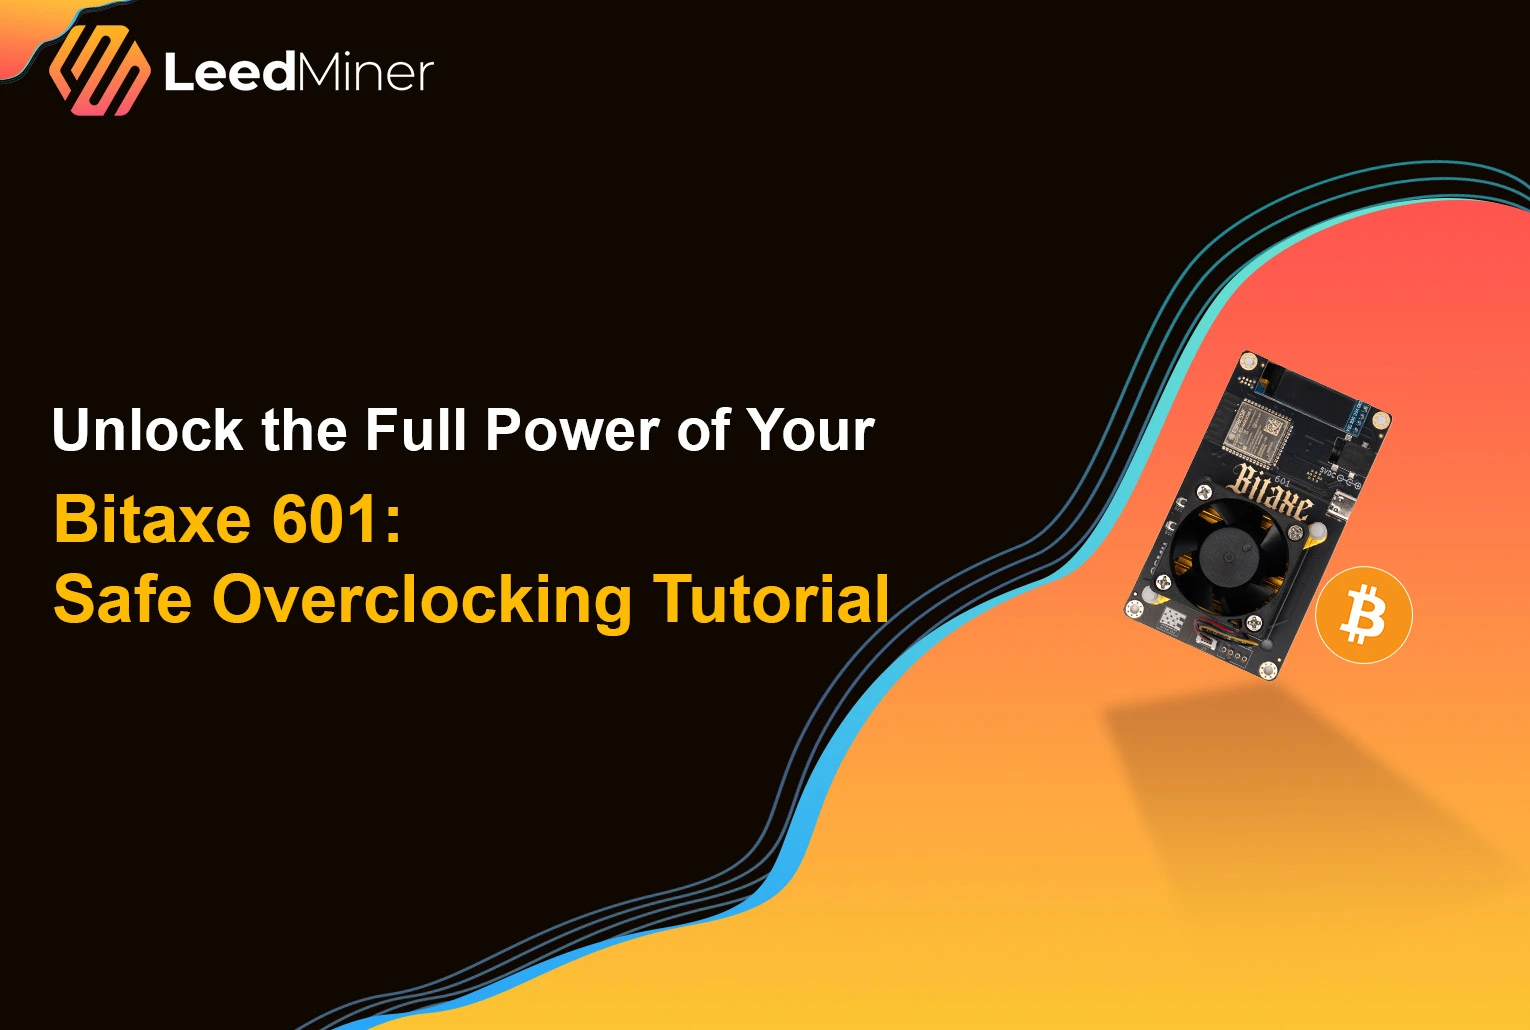
Bitaxe Gamma is a powerful yet compact open-source Bitcoin miner built around a single BM1397 or BM1366 ASIC chip. While it comes factory-configured to deliver around 1.2 TH/s, many users have successfully pushed it beyond 2 TH/s with proper tuning.
In this guide, we’ll walk you through the full overclocking process—from preparation to performance tuning—so you can safely unlock the full potential of your Bitaxe 601 miner.
What You Need Before You Start
- A working Bitaxe Gamma board (601 version)
- USB-C power and data cable
- Access to the Bitaxe web interface (via serial or USB)
- A stable cooling solution (fan + heatsink)
- Patience and time to test safely
Step 1: Establish a Baseline
Before overclocking, let the device run at stock settings:
- Default clock: 850 MHz
- Voltage: 750–800 mV
- Expected hashrate: ~1.2 TH/s
- Power draw: ~17 W
Use the web UI (or serial monitor) to observe:
- ASIC temperature
- Hashrate
- Invalid shares
Let it run for at least 20 minutes to ensure your device is stable and properly cooled.
Step 2: Start Increasing Clock Frequency
From the web UI or command interface:
- Bump the frequency by 25 MHz at a time.
- Let it run for 15–20 minutes.
- Observe:
- Hashrate consistency
- Invalid share rate (should remain <1%)
- Temperature (stay below 70°C ideally)
Most units can handle 950 MHz–1000 MHz with no voltage changes, assuming decent airflow.
Step 3: Adjust Voltage for Higher Frequencies
As you go above 1000 MHz, you’ll need to increase voltage:
- Safe range: 750–950 mV
- Typical for 2 TH/s: 875–925 mV
- Always raise voltage in 25 mV steps
Too little voltage = crashing or hash instability. Too much = heat and power spikes.
Find the lowest voltage that keeps your overclock stable.
Step 4: Improve Cooling
At high power settings (25–35W), heat becomes your main enemy.
Cooling tips:
- Use a larger 5V or 12V fan (20+ CFM)
- Apply high-quality thermal paste between chip and heatsink
- Ensure heatsink pressure is firm and even
- Run in a cool ambient environment (below 30°C if possible)
Good cooling not only allows higher clocks—it improves ASIC longevity.
Step 5: Validate Stability
Once you reach your target frequency (e.g., 1050 MHz or 1100 MHz):
- Let it run for 4–6 hours continuously
- Check:
- ASIC temp: stay under 70–75°C
- Invalid shares: <0.5%
- Hashrate: stable, no major dips
If the system crashes or shows too many errors, reduce frequency or increase voltage slightly.
Example Settings for Bitaxe Gamma (BM1397/BM1366)
| Clock Speed | Voltage | Hashrate | Power Draw | Notes |
|---|---|---|---|---|
| 850 MHz | 750 mV | ~1.2 TH/s | ~17 W | Stock |
| 950 MHz | 800 mV | ~1.4 TH/s | ~20 W | Stable for most units |
| 1000 MHz | 850 mV | ~1.6 TH/s | ~23 W | Requires better airflow |
| 1050 MHz | 900 mV | ~1.8–2.0 TH/s | ~28–30 W | High-performance cooling |
| 1100 MHz | 925+ mV | ~2.1–2.2 TH/s | ~32–35 W | Only with top cooling |
Note: Each Bitaxe board behaves slightly differently due to chip binning. Test gradually.
Final Tips
- Don’t rush. Test each frequency step patiently.
- Monitor invalid shares. High error rates mean your overclock isn’t stable.
- Watch the temperature. Anything above 75°C long-term is risky.
- Keep backups of your default settings in case you need to revert.
With careful tuning, your Bitaxe Gamma can deliver double its stock hashrate, making it not only a fun project but a more serious solo miner.