


SUMMARY
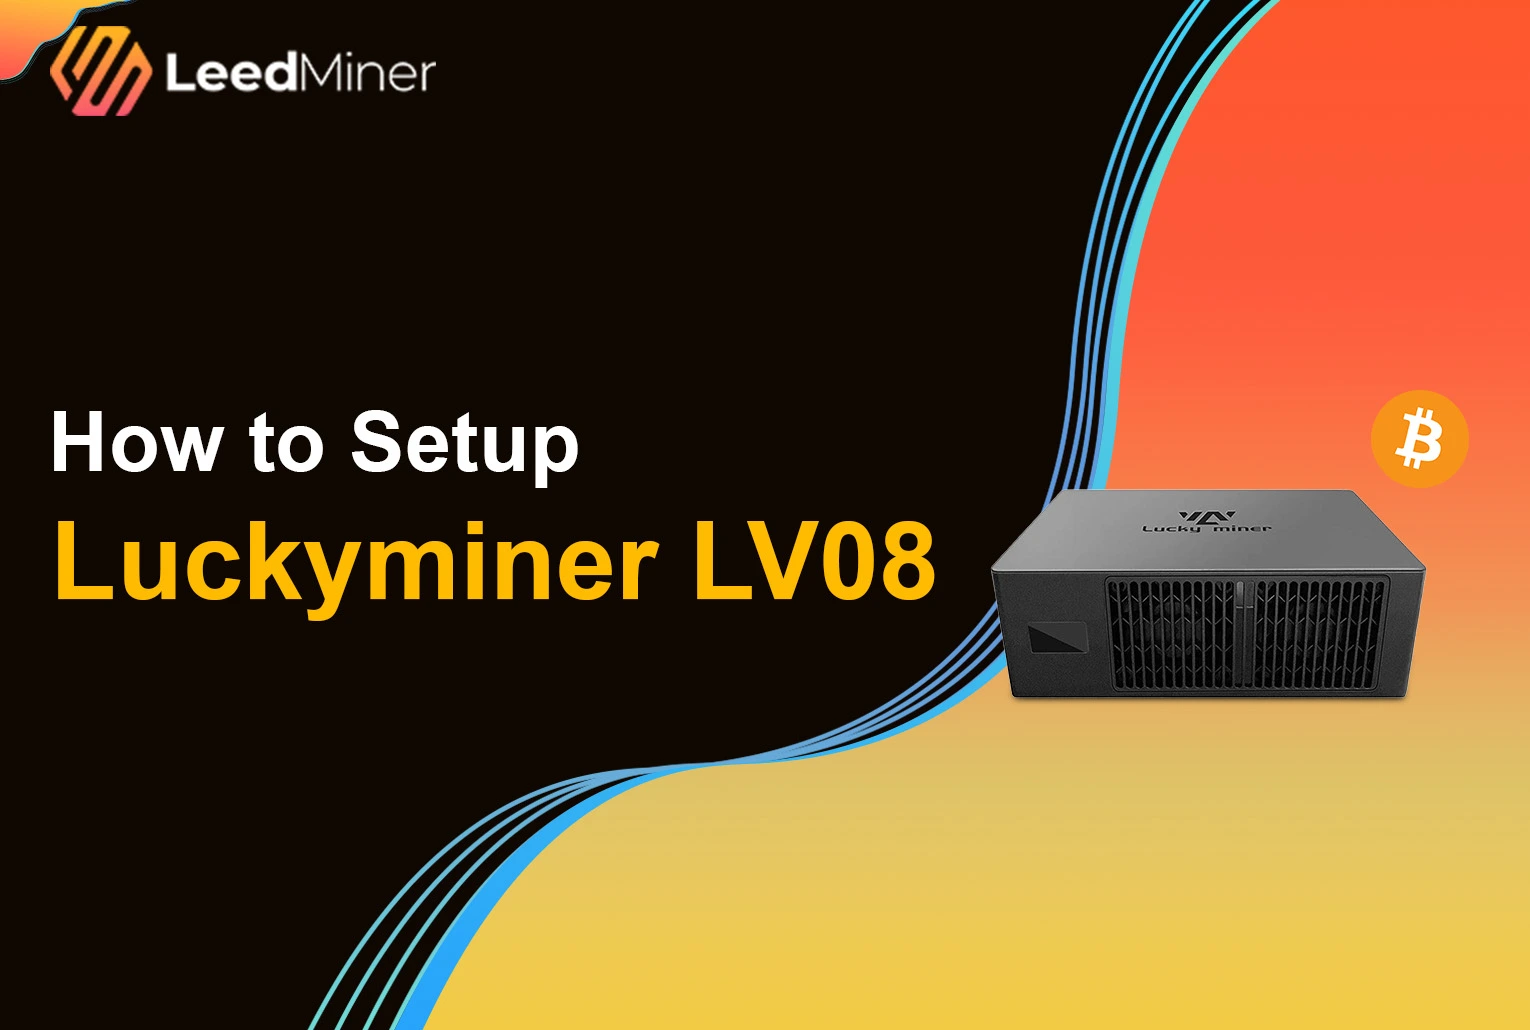
The LuckyMiner LV08 is a compact, low-power SOLO ASIC miner designed for Bitcoin enthusiasts who want to try their luck without joining a mining pool. With a built-in power supply, minimal setup process, and a quiet dual-fan design, the LV08 offers a unique plug-and-play SOLO mining experience. In this article, we’ll walk you through everything you need to know — from unboxing and hardware overview to network setup, pool configuration, and performance tuning. Whether you’re a seasoned miner or just crypto-curious, this step-by-step guide will help you get your LuckyMiner LV08 up and running in no time.
Unboxing and What’s Inside
Thinking about SOLO mining? The LuckyMiner LV08 is a unique choice — quiet, compact, and purpose-built for solo miners chasing that lucky block.
What’s in the Box
Inside the box, you’ll find:
- The LuckyMiner LV08 miner itself

- A Power Cables
No extra parts, no cables — it’s minimalist and ready to go.
A Closer Look at the LV08
Once unboxed, the design immediately stands out:
- Built-in PSU — no bulky external power bricks
- Dual cooling fans — located at the front and back for steady airflow
- Mini screen display — shows real-time miner status
- Compact form factor — looks like a mini version of a Canaan Nano 3
It’s small enough to sit on your desk, and quiet enough to run in a home office — making it one of the most beginner-friendly SOLO miners out there.
Step-by-Step Installation and Setup for LuckyMiner LV08
1. Preparing the ASIC Miner
Start by unboxing the LuckyMiner LV08 and placing it in a well-ventilated space. Plug in the power adapter (5V 6A). Once powered, the onboard screen will light up and display the Wi-Fi SSID: “Lucky-XXXX” — this is the miner’s temporary access point.
2. Connecting to the LV08 Wi-Fi Access Point
Using your phone or computer, connect to the miner’s Wi-Fi signal: Lucky-XXXX (no password required).Once connected, your device will automatically redirect to the miner’s configuration page via captive portal.

3. Configuring Network Connectivity
On the setup page:
- Choose your home Wi-Fi network (2.4GHz only — 5GHz is not supported).
- Enter your Wi-Fi password and click Save.
- A confirmation message “Save successful” will appear, and the miner will attempt to connect to your network.

4. Configuring the Solo Mining Pool
After network setup, you’ll access the miner’s control panel through your local network. Here’s how to configure SOLO mining:
- Input your SOLO mining pool URL and port (e.g., stratum+tcp://solo.ckpool.org:3333).
- Use your Bitcoin wallet address as the worker name.
- The backup pool section is preconfigured and doesn’t require editing.
Note: The LuckyMiner LV08 is not designed for traditional pooled mining — SOLO mode only.

5. Adjusting Miner Performance Settings
To optimize performance:
- Set the frequency to 575 MHz
- Set the core voltage to 1300 mV
Click Save, then hit Reboot to apply the changes. Once rebooted, the miner will begin hashing automatically.

6. Monitoring the Mining Status
After reboot, the screen will display real-time metrics:
- Hashrate (typically around 4.5 TH/s)
- Temperature
- Uptime
You can also log in via browser using the miner’s local IP to check stats, uptime, logs, and mining status from the dashboard.

7. Receiving Rewards and Withdrawing BTC
If you successfully mine a block, the full block reward (currently 3.12 BTC) will be sent directly to the wallet address linked to your SOLO pool setup. There are no third-party fees or split rewards — all or nothing.