


SUMMARY
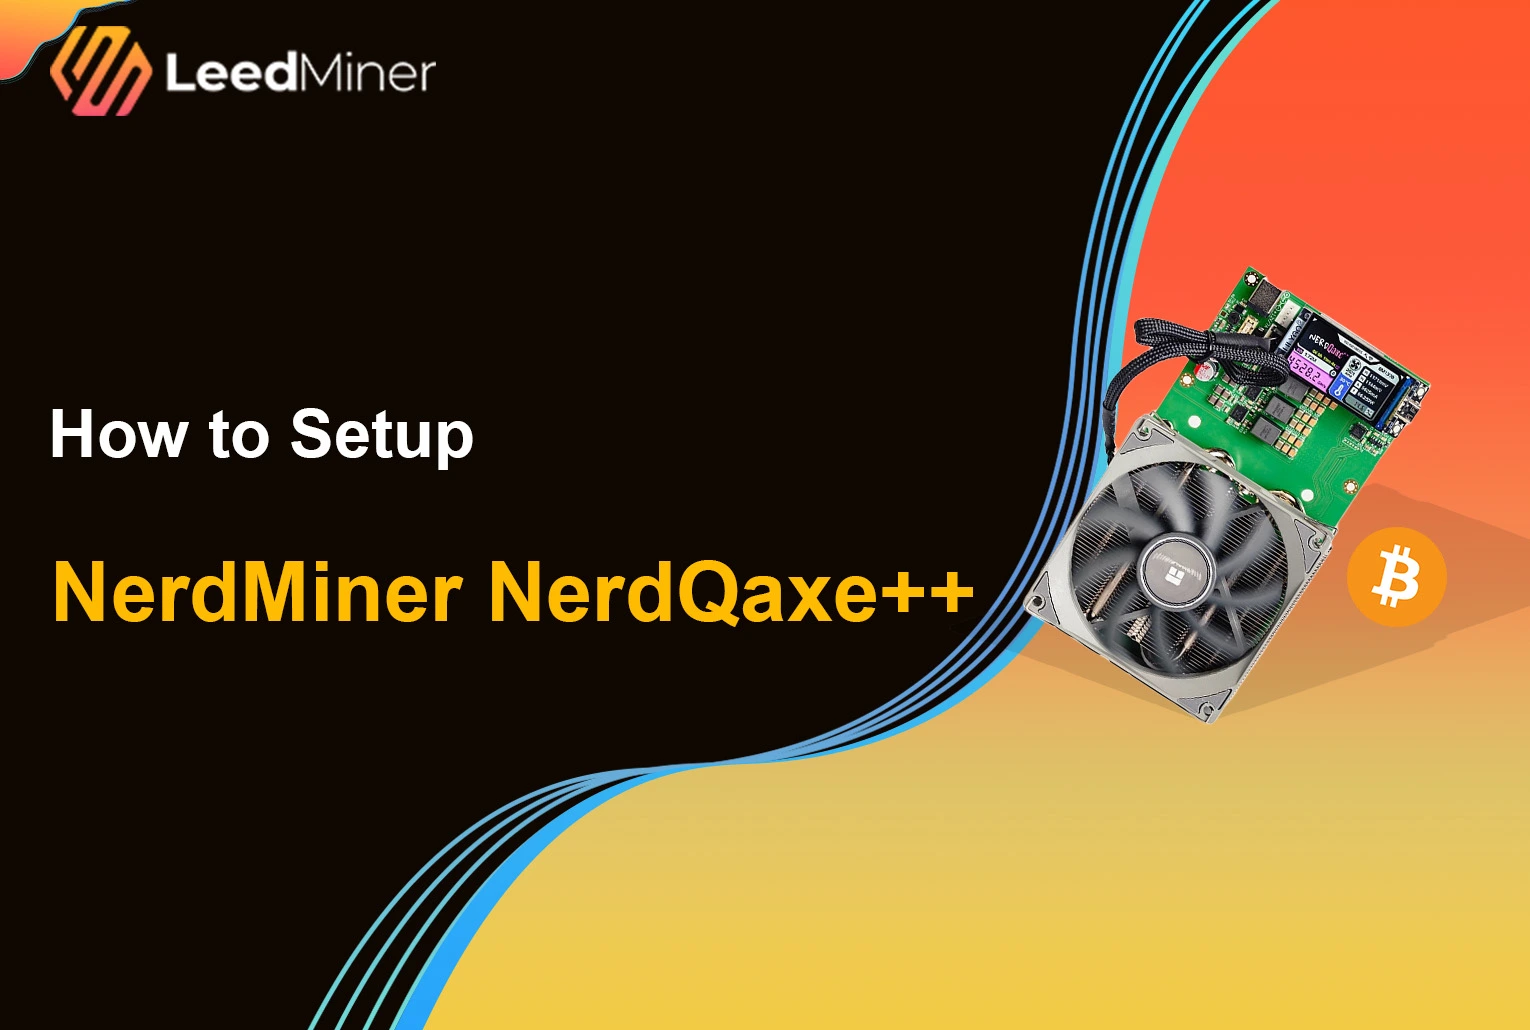
The NerdQaxe series is an open-source Bitcoin ASIC miner designed for home use, known for its low power consumption, compact form factor, and quiet operation. As a NerdQaxe Bitcoin solo miner , it focuses on efficient, small-scale solo mining rather than industrial-level hashrate.
This step-by-step guide explains how to set up NerdQaxe++, including initial configuration, firmware updates, and overclocking settings, helping users run and optimize the miner safely and reliably.
Unboxing and What’s Inside
When your NerdMiner NerdQaxe++ , miner arrives, start by carefully unboxing and checking that all components are included and in good condition. Inside the box, you should find:
- ### NerdMiner NerdQaxe++ miner unit
- ### 12V 10A DC power adapter
- ### Acrylic stand or base (if included)
The miner is compact and lightweight, with a small display screen, ESP32 microcontroller, and exposed cooling fan. Make sure:
- The miner has no visible damage
- The ports and screen are intact
- The power adapter matches the correct voltage (12V, 10A)
Now, let’s get it running.
Step-by-Step Setup for NerdMiner NerdQaxe++
The NerdQaxe++ is designed for simplicity. All you need is power, a 2.4GHz Wi-Fi connection, and a browser.
1. Hardware Assembly and Power Connection
- Installation: Secure the circuit board to the included metal bracket/holder using the provided screws. Ensure the large heatsink and Thermalright heatsink are firmly in place.
- Display: If the screen was removed during assembly, carefully insert the 1.9-inch LCD screen back into its designated slot on the motherboard.
- Power: Connect the device to the included 12V/10A power adapter.
Note: The USB-C port on the board is not for powering the device — it’s only for development or flashing purposes.
2. Wait for Device to Boot and Broadcast Wi-Fi
Within a few seconds of powering up, the screen will light up and show boot logs. The miner will also broadcast a Wi-Fi hotspot named Nerdaxe_XXXX, where XXXX is a unique identifier.

3. Connect to the Nerdaxe Wi-Fi
On your phone or computer, connect to the Nerdaxe_XXXX Wi-Fi network. Your browser may automatically redirect to the setup page. If not, open a browser and go to: http://192.168.4.1 This takes you to the internal configuration portal.

4. Enter Your Wi-Fi Credentials
On the config page:
- Enter your 2.4GHz Wi-Fi SSID
- Enter your Wi-Fi password
- Click Save

5. Find the Miner on Your Network
Once connected, the screen will display a local IP address (e.g., 192.168.1.150). This means the NerdQaxe++ is now on your home network. Open a browser on a device connected to the same network, and enter the IP address.

6. Configure the Miner
Now you can configure your NerdQaxe++ Bitcoin solo miner.
- Choose your preferred solo mining pool (e.g., solo.ckpool.org)
- Enter your Bitcoin wallet , address in the worker field
- Click Save & Start
Your miner will begin attempting to solve blocks solo — it’s like playing the Bitcoin lottery!

Confirm It's Mining
Once mining has started, you’ll see:
- Live hashrate displayed on the screen
- Current block height
- Uptime and system status
You can also monitor performance from the web UI using the local IP address.
If values are updating normally, your NerdQaxe++ miner is successfully running!

Hashrate Monitoring and Performance Tracking
Once your NerdQaxe++ miner is running, continuous hashrate monitoring is essential to ensure stable operation and detect potential issues early. You can monitor the NerdQaxe hashrate in two ways:
- On-device display: The screen shows real-time hashrate, uptime, and system status, providing a quick overview at a glance.
- Web interface monitoring: By accessing the miner’s local IP address, you can view detailed performance data
For a NerdQaxe Bitcoin solo miner, hashrate may vary over time. Short-term fluctuations are normal, but frequent drops or zero hashrate usually indicate network, thermal, or configuration issues that should be addressed promptly.
Firmware Update for NerdQaxe++
Keeping firmware up to date is strongly recommended for all NerdQaxe, NerdQaxe+, and NerdQaxe++ devices. Firmware updates often include performance optimizations, stability improvements, and bug fixes.
How to Update Firmware
- Open the web interface using the miner’s local IP address
- Navigate to the Firmware / OTA Update section
- Upload the latest firmware file or use the OTA update option
- Confirm the update and wait for the miner to reboot
Important notes:
- Do not power off the miner during the update process
- After updating, recheck all mining and network settings
- If issues occur, rolling back to a previous firmware version is usually possible
NerdQaxe++ Overclocking and Performance Tuning
One of the advantages of the NerdQaxe++ miner is its flexibility in performance tuning. Overclocking allows users to increase hashrate, but it must be done carefully to avoid instability or overheating.
- Enter NerdQaxe's IP address into your browser to access the backend.
- Click "Settings" in the sidebar or at the top.
- Find the "Danger Zone" option. A warning will usually pop up; confirm it to enter the advanced frequency adjustment page.
NerdQaxe++ Profitability
For most users, NerdQaxe++ profitability should be viewed as educational and experimental rather than income-driven.
Calculating the mining profitability for NerdQaxe++ is a complex process, as it hinges on dynamic variables including Bitcoin's price, network difficulty, electricity costs, and—especially in solo mining—sheer luck.
- The NerdQaxe++ Bitcoin solo miner does not generate consistent daily income
- Power consumption is low, but expected returns are unpredictable
- NerdQaxe++ typically runs in Solo mode, mining independently and receiving the full reward for winning a single block.
NerdQaxe++ Maintenance
Although the NerdQaxe++ miner requires minimal maintenance, basic care helps ensure long-term reliability.
Routine Maintenance Tips
- Periodically check and clean the cooling fan
- Ensure proper airflow around the miner
- Using a heatsink can effectively reduce the temperature
- Verify stable Wi-Fi connectivity
Conclusion
NerdQaxe++ is well suited for users interested in learning Bitcoin mining, experimenting with solo setups, and running a low-power ASIC at home.