


SUMMARY
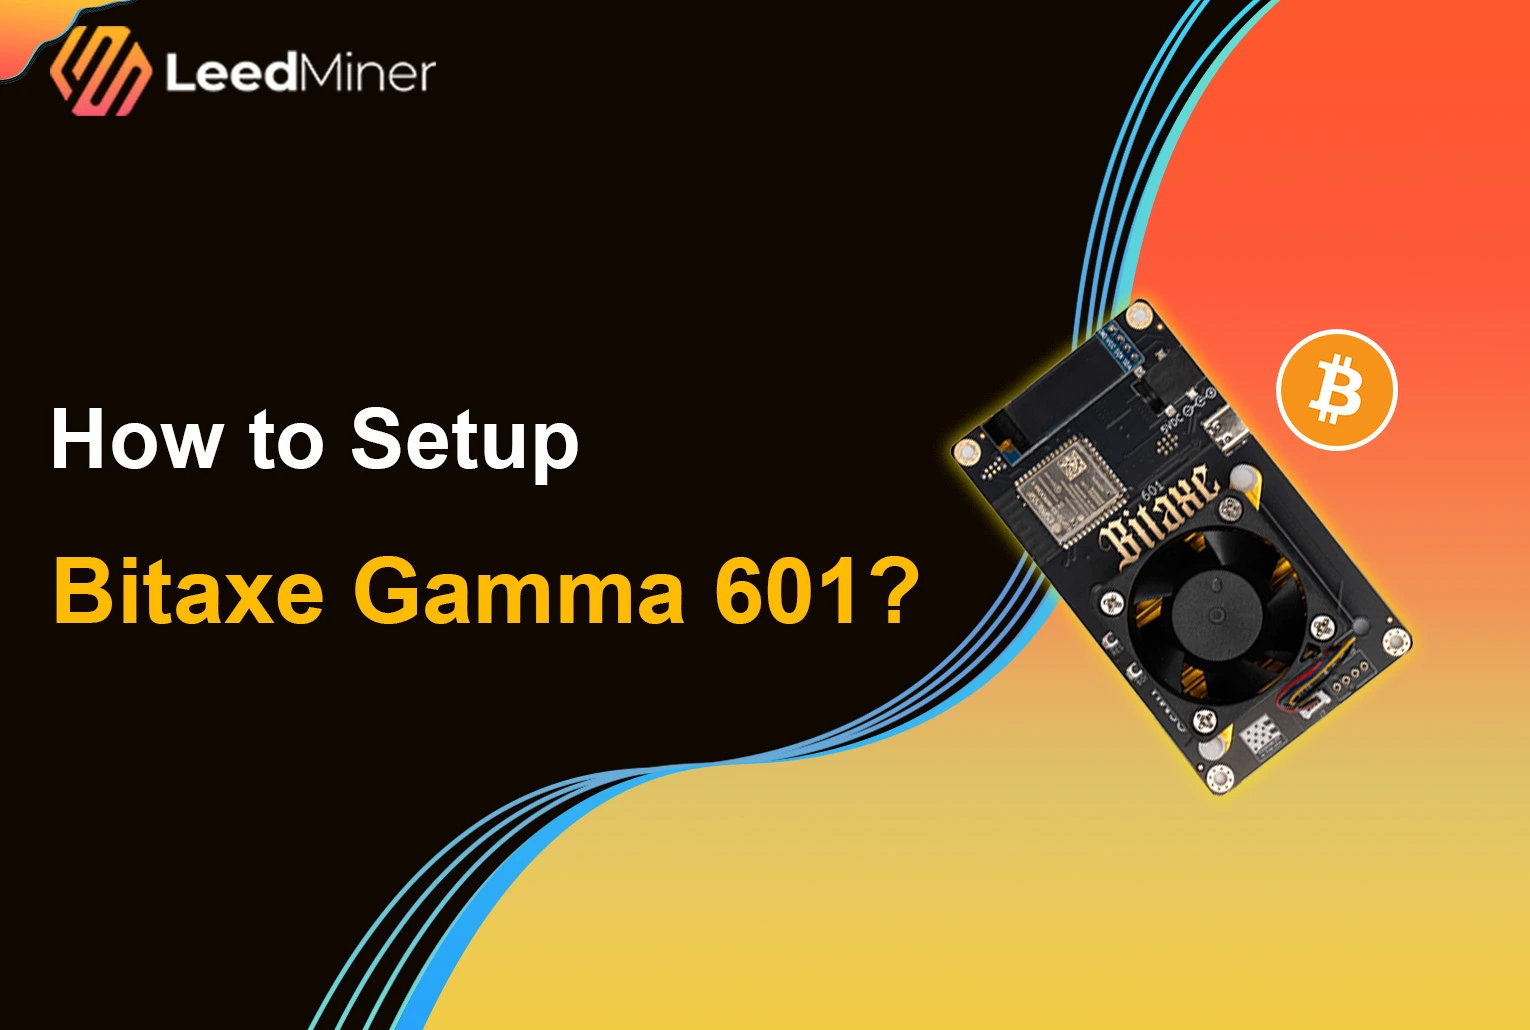
The Bitaxe Gamma 601 is a fully open-source, low-power Bitcoin ASIC miner designed for home users and hobbyists. Built around the same 5nm BM1370 chip used in the Antminer S21 Pro, it delivers about 1.1 TH/s at just 15W, making it one of the most energy-efficient and DIY-friendly mining devices available today. Whether you’re interested in solo mining, contributing to decentralization, or just learning how ASIC miners work, the Bitaxe Gamma 601 offers a compact, quiet, and affordable entry point. In this article, we’ll walk you through two key parts:
- What’s in the box — a quick hardware overview and unboxing checklist
- How to set it up — a step-by-step guide to get your miner online and mining in minutes
Let’s get started.
Unboxing and What’s Inside
When you receive your Bitaxe Gamma 601, the first thing to do is unbox the package and check that all the components are included and in good condition.
Inside the box, you should find:
- Bitaxe Gamma 601 miner (safely packaged with foam protection to prevent any damage during shipping)
- Dedicated power adapter (standard barrel connector, not USB-C)
- Quick start guide or basic setup instruction card (in some versions)
The Bitaxe Gamma 601 is impressively compact — smaller than most routers — and weighs around 500g, making it ideal for home use on any desk or shelf. Its small size and low noise profile make it perfect for running even in quiet spaces. Before powering on, make sure:
- There is no visible damage to the device or power adapter
- The screen is intact and the ports are clean
- You’re using a 2.4GHz Wi-Fi network, as the miner does not support 5GHz
Once you've verified the contents, you're ready to move on to the setup process and start mining.
Step-by-Step Installation and Setup for Bitaxe Gamma 601
The Bitaxe Gamma 601 was designed with simplicity in mind. Setting it up requires no coding experience — just a power outlet, a Wi-Fi network, and a browser on your phone or computer.
1.Plug in the Power
Use the included dedicated power adapter to power the miner. Once connected, the device will boot up automatically. ⚠️ Note: The USB-C port is not for power — it’s used for firmware flashing or development purposes only.

2.Wait for Startup
After powering on, the built-in screen will light up. Within a few seconds, you’ll see a Wi-Fi network called something like Bitaxe_XXXX.

3.Connect to the Bitaxe Wi-Fi
On your phone or computer, connect to the Bitaxe_XXXX Wi-Fi network. Once connected, your device may automatically redirect to a setup page. If it doesn’t, open a browser and visit: http://msftconnecttest.com

4.Enter Your Home Wi-Fi Info
On the setup page:
- Enter your 2.4GHz Wi-Fi SSID (Wi-Fi name)
- Enter your Wi-Fi password
- Click “Connect” or “Save”
The Bitaxe will then reboot and connect to your home network.

5.Configure Mining Pool Info
After connecting to your home Wi-Fi, the screen will display a local IP address, such as 192.168.1.128. Open a browser and enter that IP address to access the Bitaxe web control panel. There, you’ll need to:
- Enter your mining pool’s Stratum URL.
- Enter your mining username (usually your Bitcoin wallet address)
Click Save — and your Bitaxe will begin mining.

Final Check: Confirm It's Working
You can monitor live stats such as hashrate (1.1 TH/s), temperature, and voltage either on the screen or in the web interface. If you see shares being submitted — congratulations, you’re officially mining!

Bonus Tips (Optional Tweaks)
- Use the control panel to adjust frequency or voltage for overclocking or underclocking.
- Easily update the firmware via OTA from the web panel.
- Need to start over? Long-press the onboard button to reset to factory settings.
And that’s it — the full Bitaxe setup process takes just 5–10 minutes.Whether you’re a Bitcoin beginner or a DIY hardware enthusiast, the Bitaxe Gamma 601 offers a fun and accessible way to explore mining on your own terms.