


SUMMARY
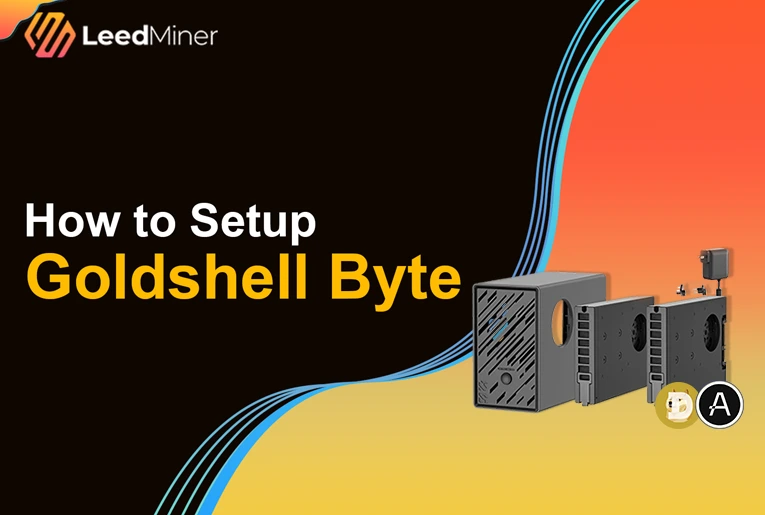
Setting up the Goldshell Byte is a straightforward process designed for both beginners and experienced miners. This compact, WiFi-enabled miner features interchangeable mining cards for Dogecoin/Litecoin (DG card) and ALEO (AE card), offering a flexible and space-saving solution. This guide covers everything from unboxing and initial setup to configuring mining pools and monitoring performance. By following these steps, you can have your Goldshell Byte up and running efficiently, ready to mine your chosen cryptocurrency.
Unboxing and What’s Inside

When you receive your Goldshell Byte miner, the first step is to unbox it and check the contents. Inside the package, you should find:
- Goldshell Byte miner (individually packaged with protective foam padding to prevent damage during shipping)
- Two mining cards (DG card and AE card) (also separately packaged with reliable foam protection)
- Power adapter(maximum 140W output power, with interchangeable plugs to suit different countries and regions)
The Goldshell Byte is very compact, even smaller than the palm of your hand, making it an excellent space-saving mining device. The miner’s weight is around 1kg (including two mining cards), making it easy to place and move.
Before proceeding, check for any visible damage to the miner or cables. If everything looks good, you're ready to set it up.
Setting Up the Miner
Choosing a Proper Location
- Place the miner in a well-ventilated area to avoid overheating.
- Avoid enclosed spaces and keep the miner away from flammable materials.
- Ensure there is a stable power source nearby.
Installing the Mining Cards & Connecting the Power Supply

Before connecting the power, you need to install the mining cards into the Byte miner. The card slots resemble SATA interfaces, making installation straightforward:
- Locate the two mining card slots on the top of the Goldshell Byte miner.
- Carefully insert the DG card or AE card into the slot, ensuring it fits securely.
- Once both cards are properly installed, proceed to connect the power supply.
- The Goldshell Byte is powered via a Type-C adapter.
- Simply plug in the power supply, and the miner will automatically power on.
Connecting to WiFi
Unlike many other miners, the Goldshell Byte does not use an Ethernet port. Instead, it connects via WiFi. When first powered on, the front panel indicator light has four segments:
- The second segment blinks, indicating the miner is in hotspot mode.
To connect the miner to your local network:
- On your computer or mobile device, open the WiFi settings.
- Look for a network named “Goldshell_XXXXX” (the exact name may vary).
- Connect to this network without a password.
- Open a web browser and go to
192.168.77.1. - This will take you to the Goldshell Byte web interface.
- Click on the WiFi settings and select your home or office WiFi.
- Enter your WiFi password and click Connect.
Once the miner connects to the internet, it will automatically restart and join your local network. After this step, you can access the miner via find.goldshell.com or Goldshell Hub to locate its new local IP address.
To ensure successful connection, make sure your computer and miner are connected to the same WiFi network. Alternatively, you can check your router’s backend to find the miner’s assigned IP address and use that to access its management interface.
Additionally, Goldshell Hub has a mobile version available on iOS App Store and Android Play Store under the name Goldshell Zone. This app allows you to configure and manage multiple Goldshell miners without manually entering the web interface, making the process much more convenient.
Using Goldshell Hub for Configuration
For this guide, we will use Goldshell Hub to set up the miner:
- Open a web browser and visit Goldshell’s Hub website.
- Ensure your computer and miner are on the same WiFi network.
- Goldshell Hub will automatically detect your miner.
- Click on your Goldshell Byte miner to enter its dashboard.
- Proceed to configure the mining pool settings.
Configuring the Mining Pool
Now that the miner is connected to the internet, the next step is to configure it for mining.
- Navigate to the Miner Settings tab.
- Choose a mining pool that supports your algorithm.
- For Dogecoin/Litecoin, use F2Pool, ViaBTC, or other supported pools. - For ALEO, use F2Pool or a recommended ALEO mining pool.
- Enter the pool URL, your worker name, and password (usually left as “x”).
- Click Apply to save the settings.
Once saved, the miner will start hashing automatically.
Starting the Miner and Monitoring Performance
After setup, you should see the miner start working. Here’s what to monitor:
- Hashrate: The expected hashrate is:
- DG card: ~80MH/s at 65W (for Dogecoin/Litecoin) - AE card: ~6.2MH/s at 65W (for ALEO)
- Temperature: Should remain within safe operating limits.
- Fan Speed: Ensure it adjusts correctly to maintain optimal cooling.
- Power Consumption: The miner should operate at about 140W total (with two cards installed).
- Noise Level: The miner operates at below 50dB, making it relatively quiet compared to other mining devices.
If everything looks good, your miner is successfully running!
After Running for a While
After a few hours or days of mining, you may want to check:
Mining Earnings
- Log into your mining pool dashboard to view your mining rewards.
- Consider profitability factors such as coin price, electricity costs, and mining difficulty.
Troubleshooting Common Issues
If you encounter problems, try these solutions:
- Miner not appearing in the Goldshell Hub → Reboot the miner and check the WiFi connection.
- Low hashrate → Ensure proper cooling and check mining pool settings.
- Overheating → Move to a better-ventilated area and clean dust from the miner.
- WiFi connection issues → Try a different network or use a WiFi range extender.
Maintenance Tips
- Dust regularly to prevent overheating.
- Keep firmware updated for the best performance.
- Monitor mining stats periodically to ensure stable operation
CONCLUSION
Setting up the Goldshell Byte is straightforward, thanks to its WiFi connectivity and modular mining cards. With the ability to swap algorithm cards, it offers a flexible mining solution for different cryptocurrencies.
If you’ve followed this guide, your miner should now be up and running! Make sure to keep an eye on performance, maintain the device properly, and adjust your settings as needed for optimal results.