How to Setup NerdMiner NerdQaxe++
Setup
- tagwu

SUMMARY
The NerdMiner NerdQaxe++ is a compact, open-source Bitcoin solo miner built upon the foundation of the NerdQaxe+. It’s an excellent choice for hobbyists, developers, or anyone curious about mining on a micro-scale.
Unboxing and What’s Inside
When your NerdQaxe++ arrives, start by carefully unboxing and checking that all components are included and in good condition.
Inside the box, you should find:
NerdMiner NerdQaxe++ miner unit

12V 10A DC power adapter

Acrylic stand or base (if included)
The miner is compact and lightweight, with a small display screen, ESP32 microcontroller, and exposed cooling fan. Make sure:
- The miner has no visible damage
- The ports and screen are intact
- The power adapter matches the correct voltage (12V, 10A)
Now, let’s get it running.
Step-by-Step Setup for NerdMiner NerdQaxe++
The NerdQaxe++ is designed for simplicity. All you need is power, a 2.4GHz Wi-Fi connection, and a browser.
1. Connect the DC Power
Note: The USB-C port on the board is not for powering the device — it’s only for development or flashing purposes.
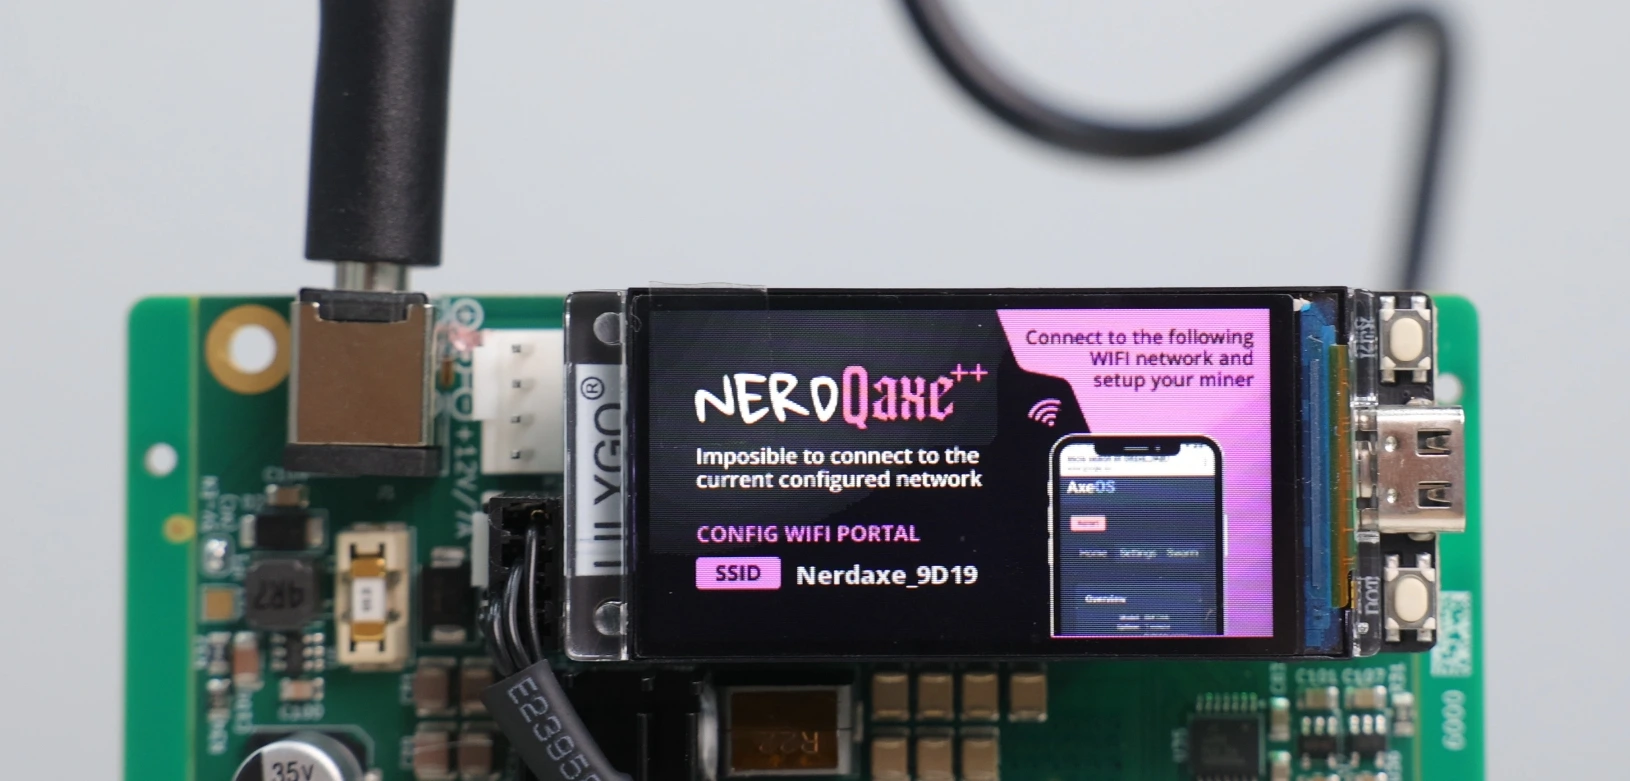
2. Wait for Device to Boot and Broadcast Wi-Fi
Within a few seconds of powering up, the screen will light up and show boot logs.
The miner will also broadcast a Wi-Fi hotspot named Nerdaxe_XXXX, where XXXX is a unique identifier.

3. Connect to the Nerdaxe Wi-Fi
On your phone or computer, connect to the Nerdaxe_XXXX Wi-Fi network.
Your browser may automatically redirect to the setup page. If not, open a browser and go to:
This takes you to the internal configuration portal.

4. Enter Your Wi-Fi Credentials
On the config page:
- Enter your 2.4GHz Wi-Fi SSID
- Enter your Wi-Fi password
- Click Save

5. Find the Miner on Your Network
Once connected, the screen will display a local IP address (e.g., 192.168.1.150). This means the NerdQaxe++ is now on your home network.
Open a browser on a device connected to the same network, and enter the IP address.

6. Configure the Miner
Now it’s time to enter your mining information.
- Choose your preferred solo mining pool (e.g.,
solo.ckpool.org) - Enter your Bitcoin wallet address in the worker field
- Click Save & Start
Your miner will begin attempting to solve blocks solo — it’s like playing the Bitcoin lottery!

Confirm It's Mining
Once running, you’ll see:
- Hashrate readings on the screen
- Block height and uptime
- Optionally, you can monitor live stats via the web interface using the local IP
If the screen is updating and you see status info — congrats, you're mining!

Bonus Tips
- Want to update the firmware? Use the OTA Update option from the web interface
- To reset settings, long-press the hardware button on the board
- If you're into development, connect via USB-C and flash custom firmware
No Reading Needed : NerdMiner NerdQaxe++ Setup Video
FAQs on NerdMiner NerdQaxe++
Can I power it using USB-C?
Does it support 5GHz Wi-Fi?
Can I mine on normal pools?
solo.ckpool.org, but don’t expect frequent rewards — it’s all about supporting decentralization and having fun. 


